
 Support
How to prepare your computer for an online proctored exam
On this page
Before the exam, the OES proctoring system checks your computer: the browser, the proctoring extension, the internet connection, the number of monitors, the microphone, the camera and screen access. It also takes your photo to confirm your identity. Prepare your computer in advance using this guide, and the check will pass the first time.
The main steps are the same for every organization that runs exams with OES proctoring; some organizations add extra checks. Your organization will tell you how to sign in to the exam, when it starts and what the tasks look like.
The English version of the proctoring pages is not fully translated, and a few labels stay in Russian. This guide quotes every label exactly as you will see it.
What you need
| What | Details |
|---|---|
| A computer or laptop | You cannot take the exam from a phone or tablet unless your organization allows it. |
| The latest version of Google Chrome | The check will not pass in other browsers, such as Firefox or Safari. |
| The proctoring extension for Chrome | If it is not installed, the check shows a “Download” button with the right link. |
| A webcam | Built-in or USB, with a resolution of at least 640×480. |
| A microphone | Built-in or on a headset. |
| One monitor | Disconnect any second monitor, TV or projector. |
| A stable internet connection | At least 1 Mbit/s. If your organization requires more, it will tell you. |
Some organizations also ask you to install the OES app on your computer or to connect your phone as a second camera. If you need to do this, your organization will tell you.
Important: after the extension check, the system closes all other browser tabs. Save anything open in them beforehand.
Before the exam
- Update Google Chrome to the latest version.
- Close programs that may use the camera or microphone: Zoom, Teams, Skype, WhatsApp, OBS and similar.
- Disconnect any second monitor, TV or projector.
- Save and close extra browser tabs.
- Maximize the Chrome window.
- Connect to a stable internet connection. Check that other devices are not loading the network.
- Sit so that your face is clearly visible and well lit.
Step 1. Identification
Sign in to the exam the way your organization told you. If the first screen has a “To start” button, click it. By clicking it, you agree to the user agreement.
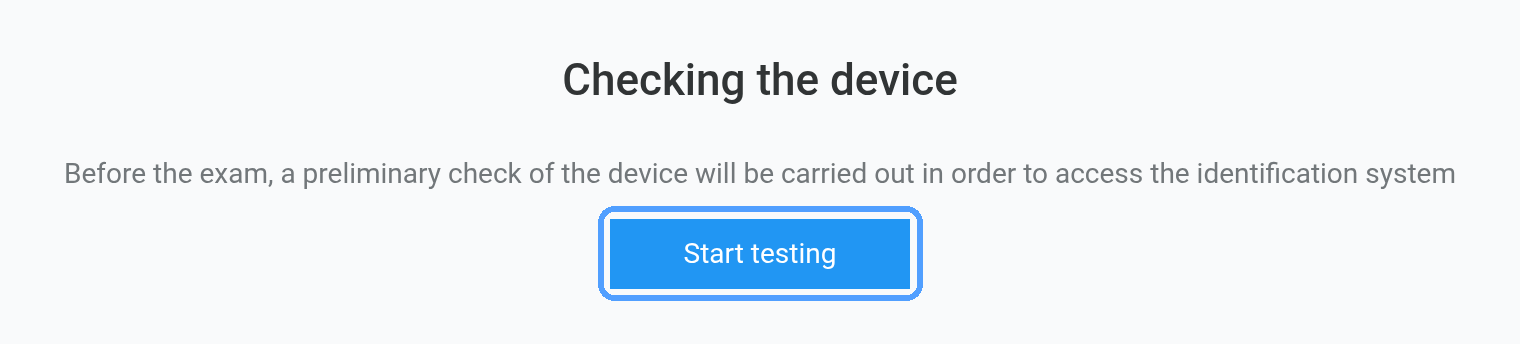
On the “Checking the device” screen, click “Start testing”.
The “Preliminary check” begins: authorization, browser, extension, microphone and webcam.
Allow access to the microphone and camera
During the check, Chrome asks for permission twice: first for the microphone, then for the camera. Both times, click “Allow while visiting the site”. The pictures below show Chrome in Russian, where this button is «Разрешить, когда я на сайте».
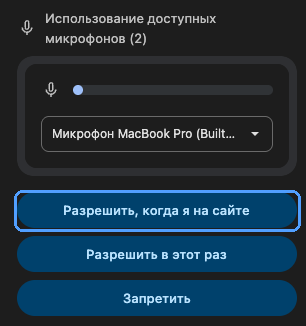
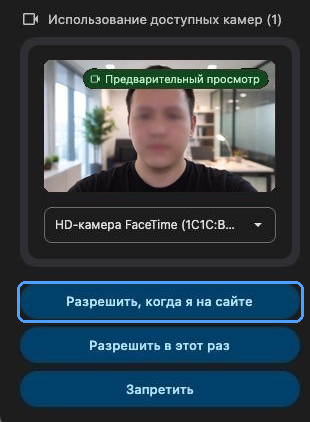
Important: do not click “Don't allow”. This is the most common reason the check fails. If you already clicked it, see “No microphone permission” or “No camera permission” below.
If every row is green, the preliminary check has passed.
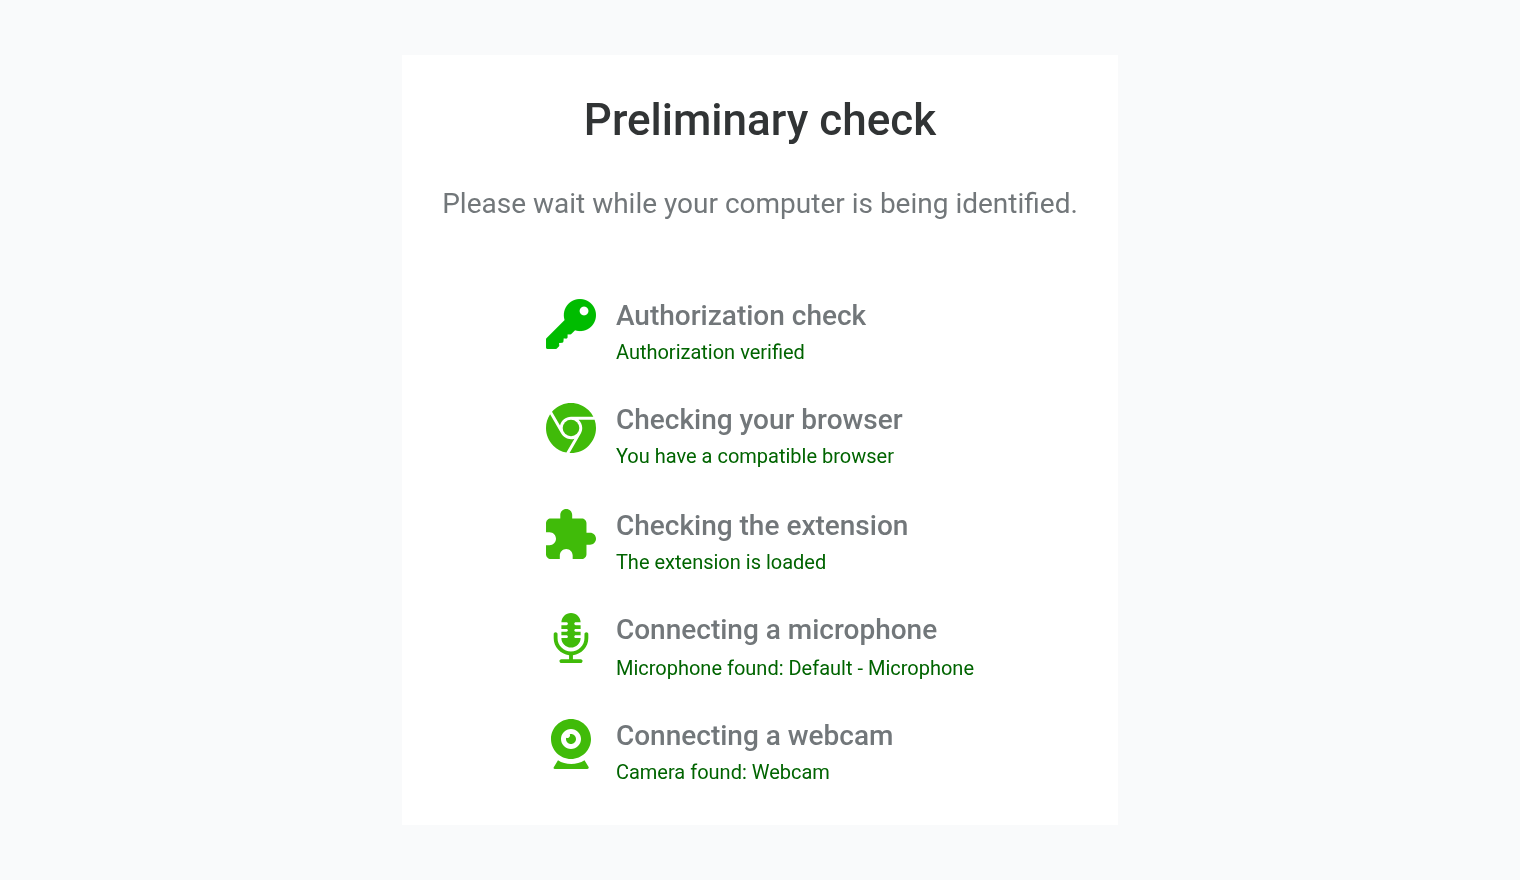
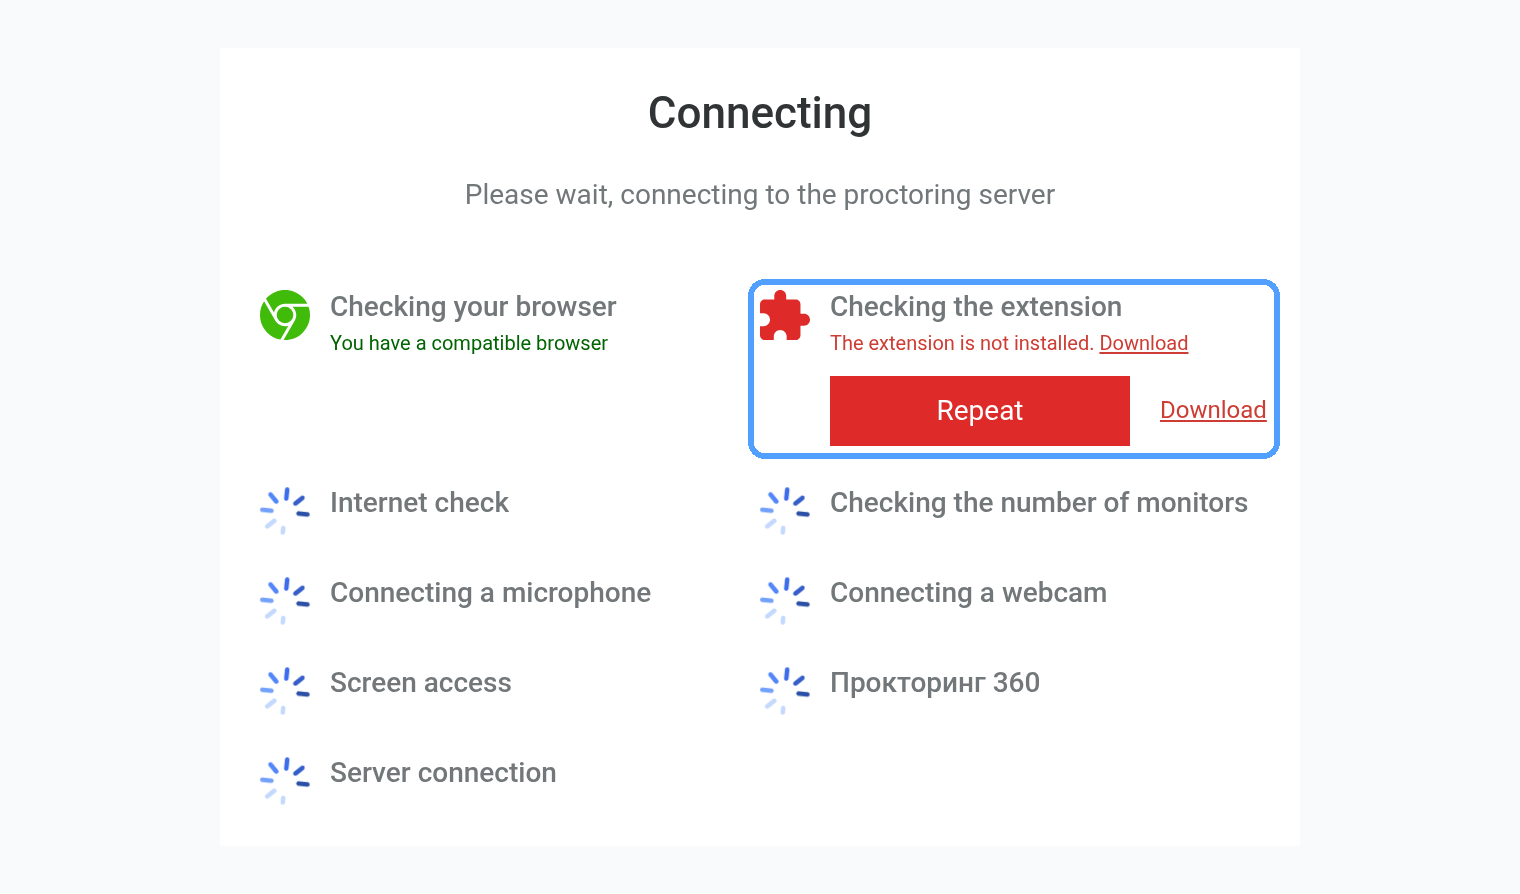
If the “Checking the extension” row shows “The extension is not installed. Download”, install the extension (see “The extension is not installed” below). “Repeat” reloads the page.
Take your photo
When the preliminary check is finished, click “continue” on the “Identification” screen. Then place your face inside the oval and click “Take a photo”. When you sign in again, this screen is called “Sending a photo”.
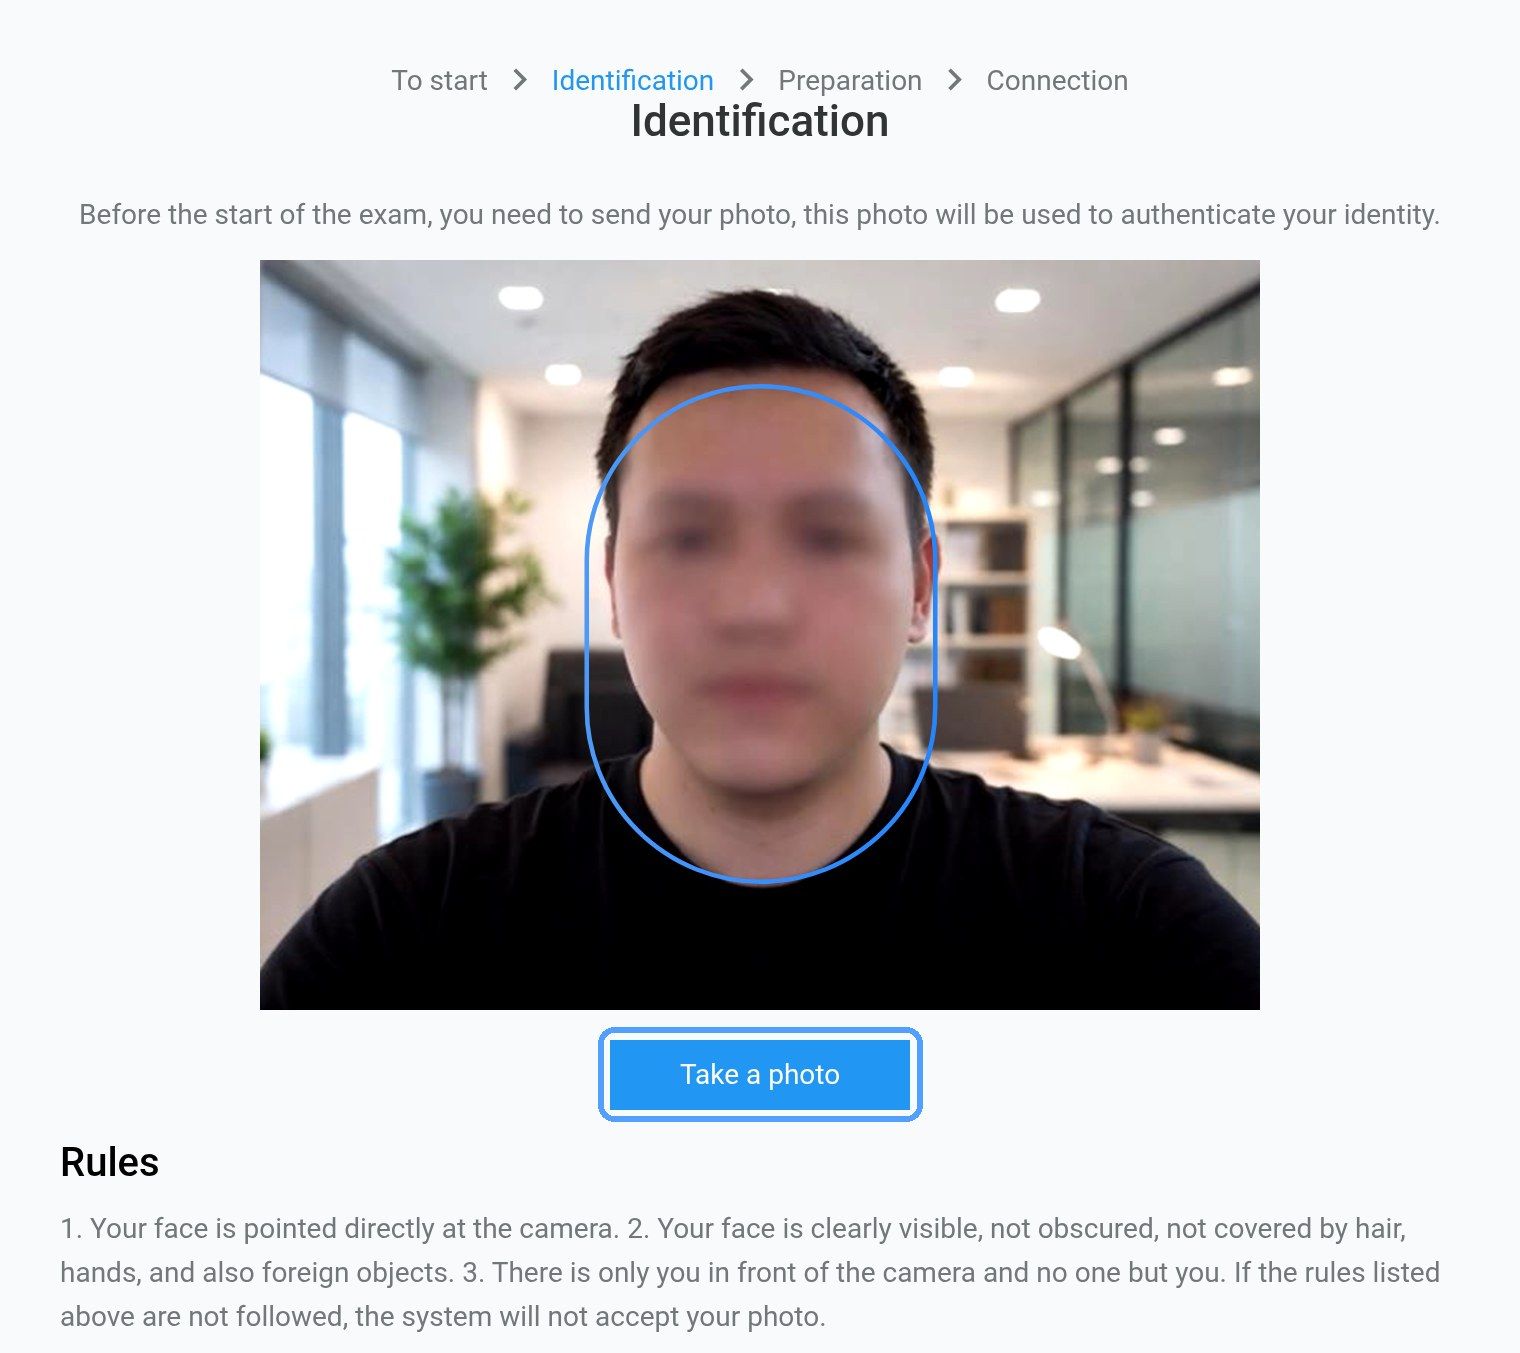
The system accepts the photo only if:
- your face is pointed directly at the camera;
- your face is clearly visible: not in shadow and not covered by hair, hands or other objects;
- you are alone in front of the camera.
You will see “Photo taken, send it?”. If the photo is clear, click “Send”. To retake it, click “Back”.
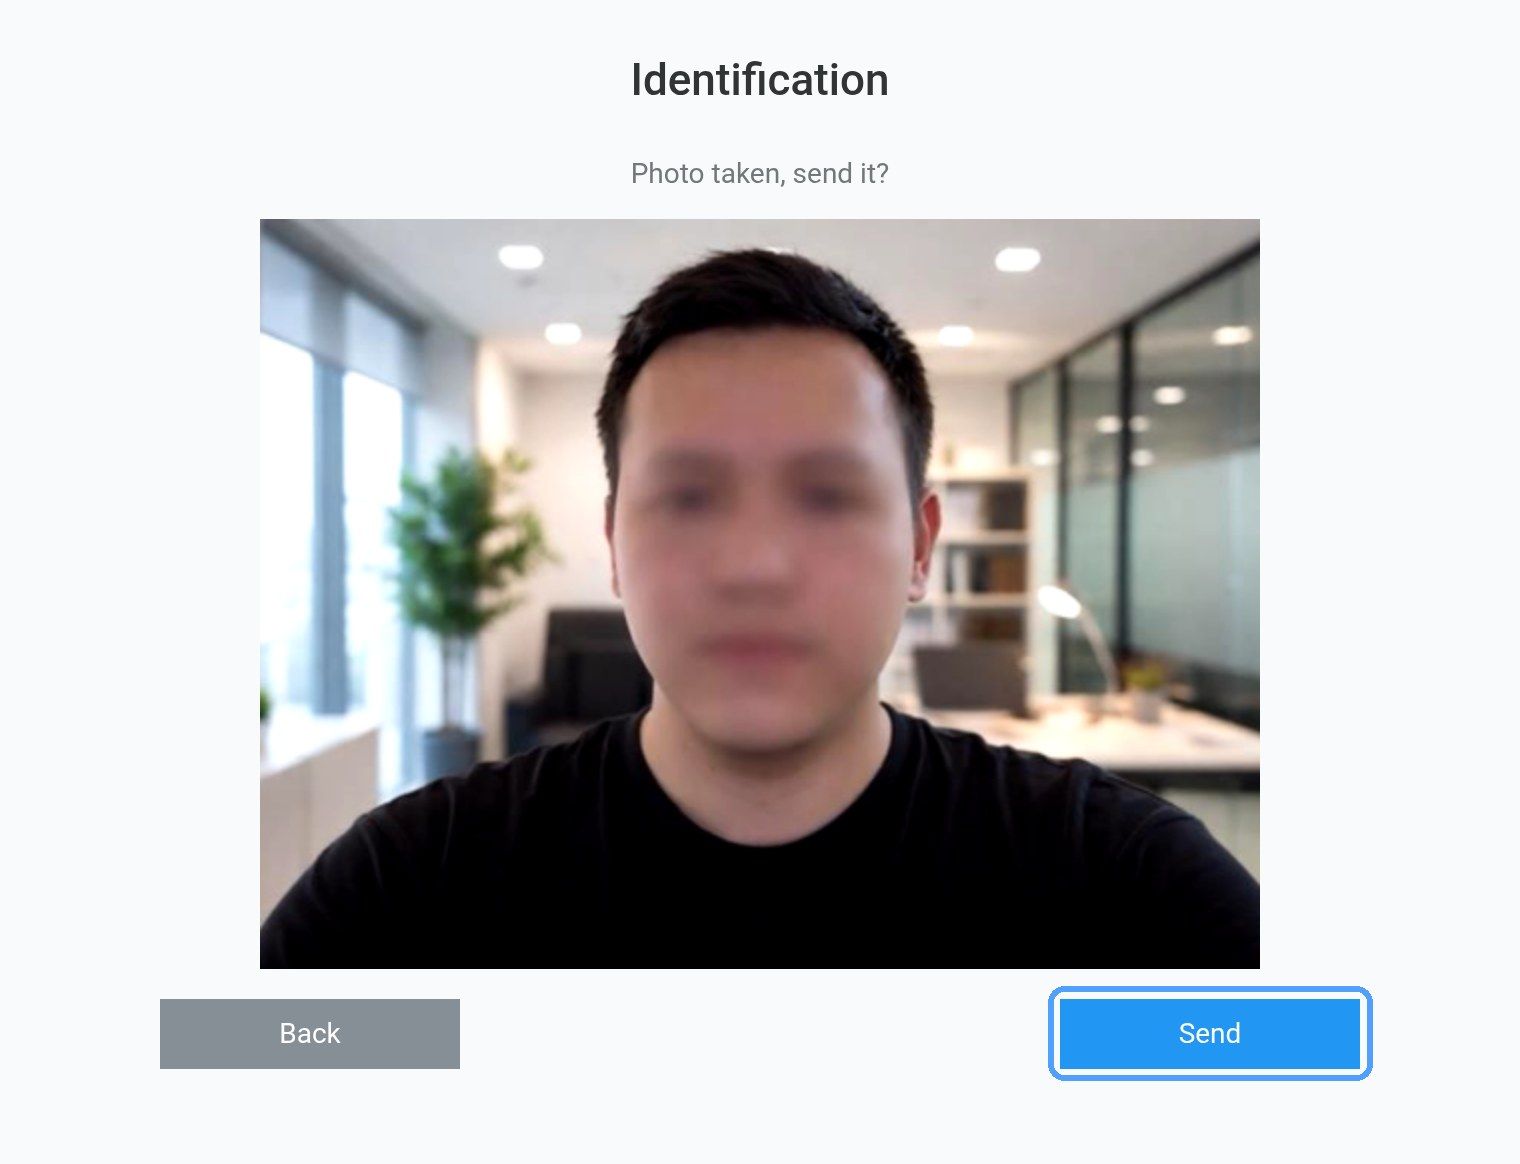
If an error message appears after “Send”, click “Back” and take the photo again: face the camera directly, with good lighting. If the error repeats, contact your organization's support.
If more than 2 minutes have passed since your last photo, the system will ask you for a new one when you start again.
Step 2. Exam selection
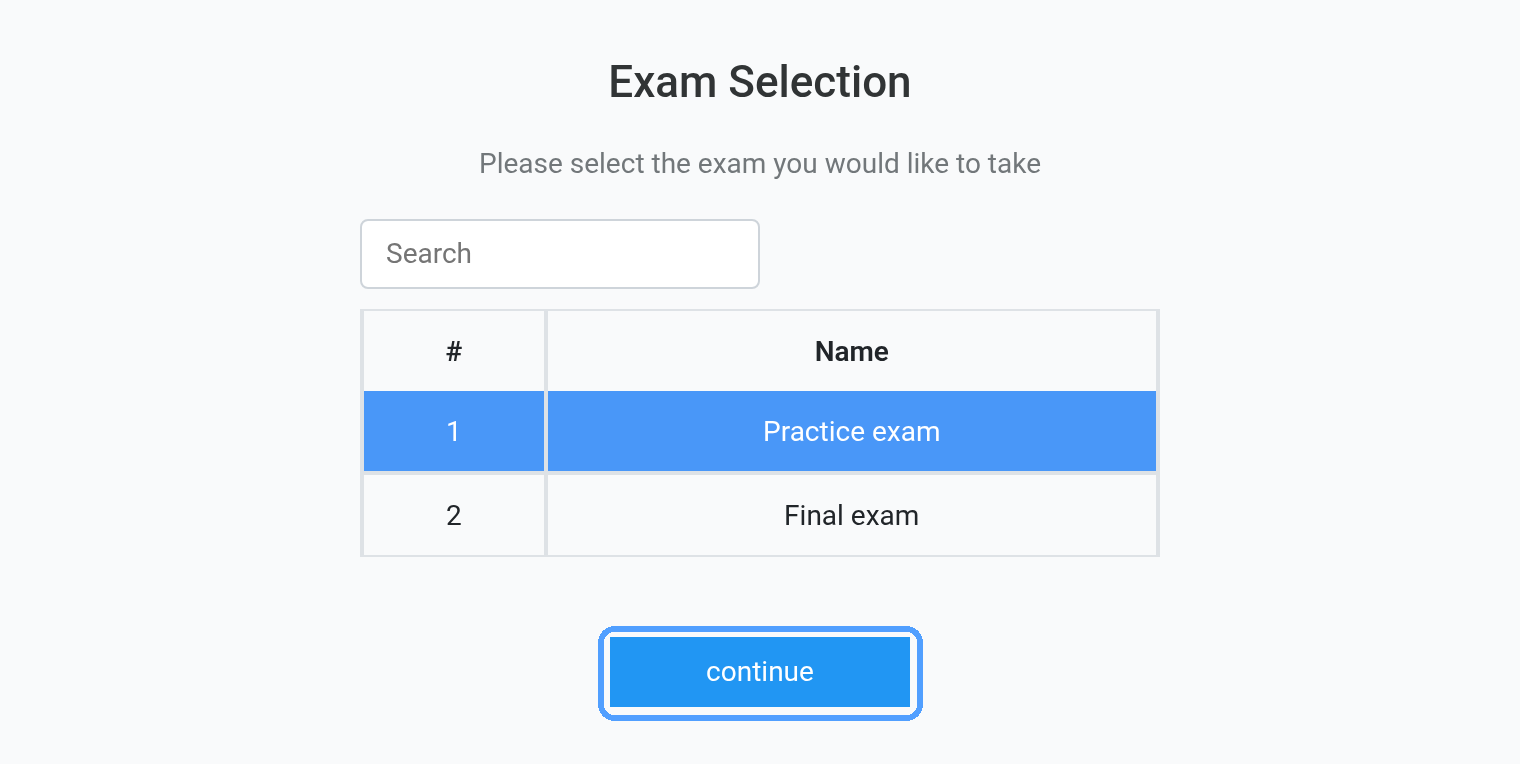
Not every organization has this step. If you see the “Exam Selection” screen, select your exam in the table and click “continue”.
Step 3. Computer check and connection
On the “Connecting” screen, the system checks your computer step by step. A green row means the check passed. A spinner means the check is still running.
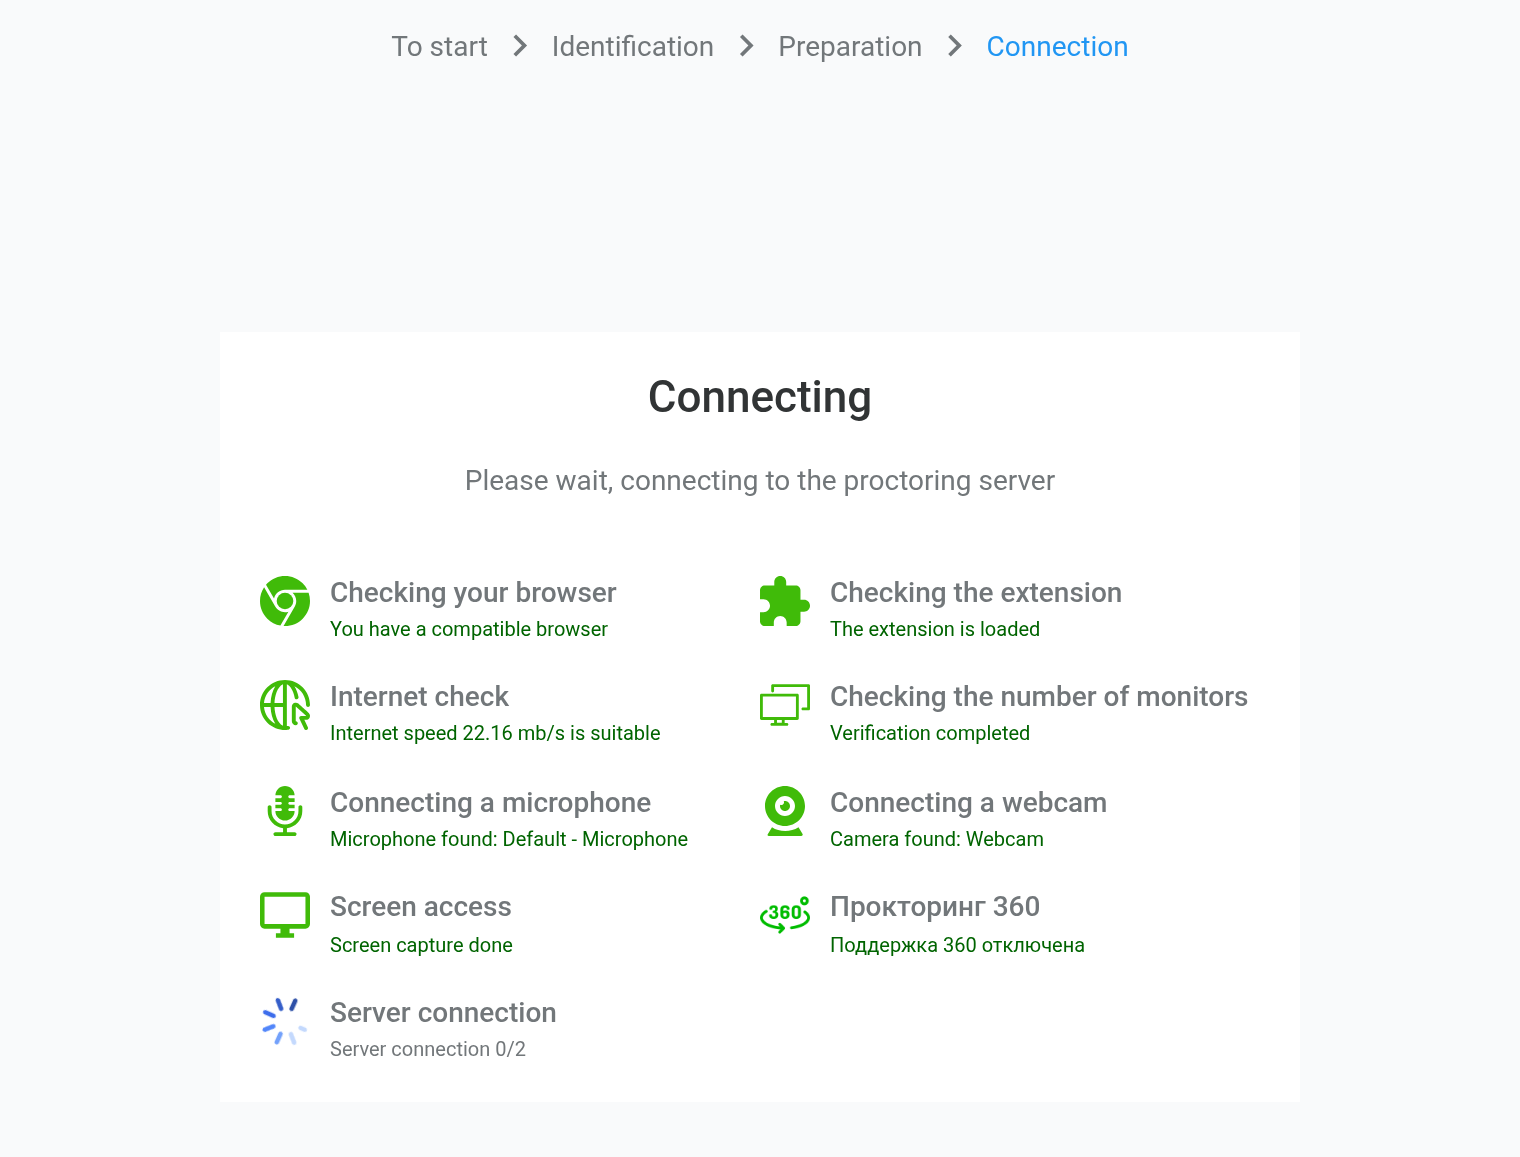
| Row | What it checks |
|---|---|
| Checking your browser | You opened the page in Google Chrome. |
| Checking the extension | The proctoring extension is installed and up to date. |
| Internet check | Your internet speed is sufficient. |
| Checking the number of monitors | Only one monitor is connected. |
| Connecting a microphone | Chrome has access to the microphone. |
| Connecting a webcam | Chrome has access to the camera. |
| Screen access | The Chrome window is maximized and you are sharing the entire screen. |
| Прокторинг 360 (360 proctoring) | A phone as a second camera. Not every organization has this row. If yours does not use a phone, the row says «Поддержка 360 отключена» (360 support disabled). |
| Server connection | The connection to the proctoring server. |
If a check fails, its row turns red and two buttons appear: “Repeat” and “Why so?”. “Why so?” explains what happened and how to fix it. Fix the cause and click “Repeat”. For the extension error, “Download” or “upgrade” appears instead of “Why so?”.
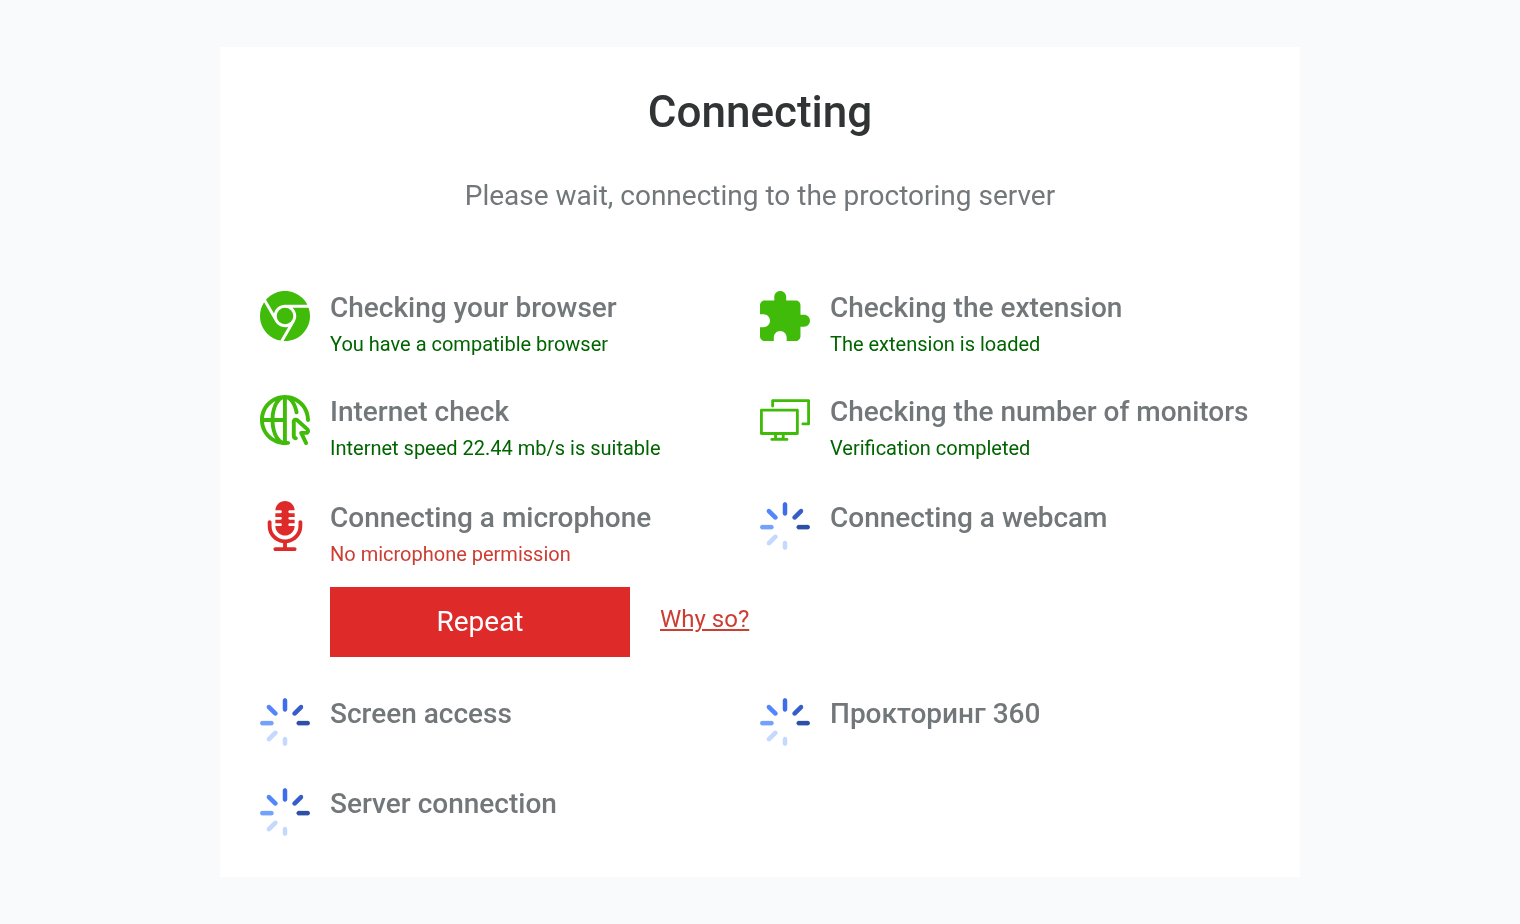
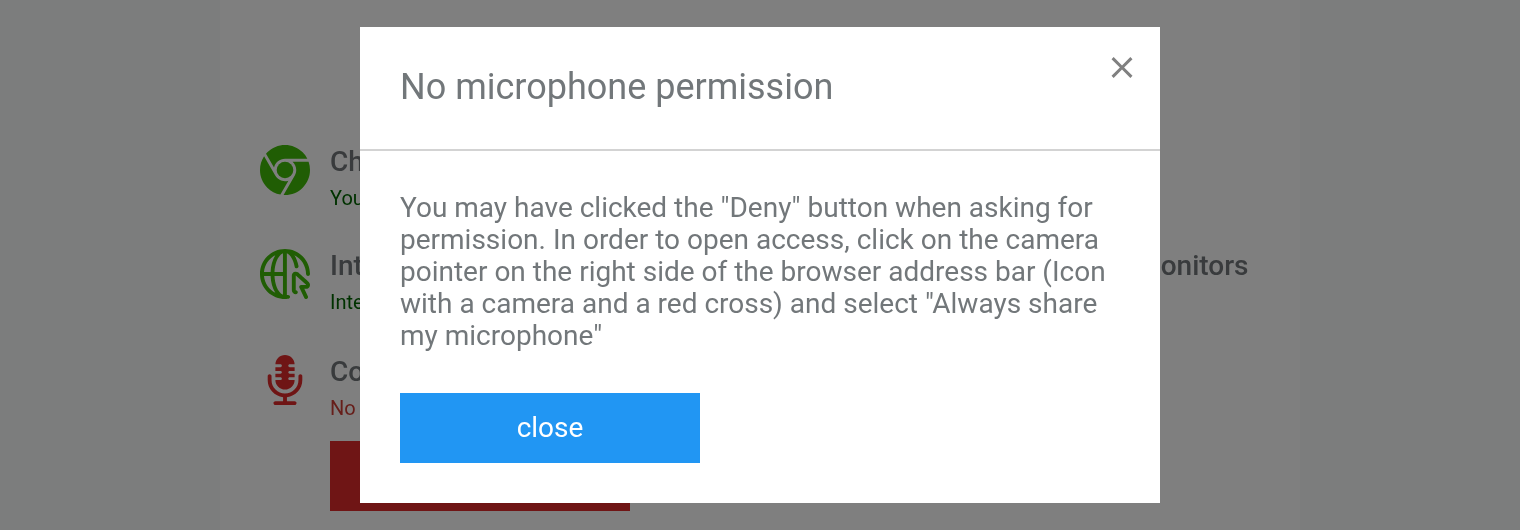
Screen access
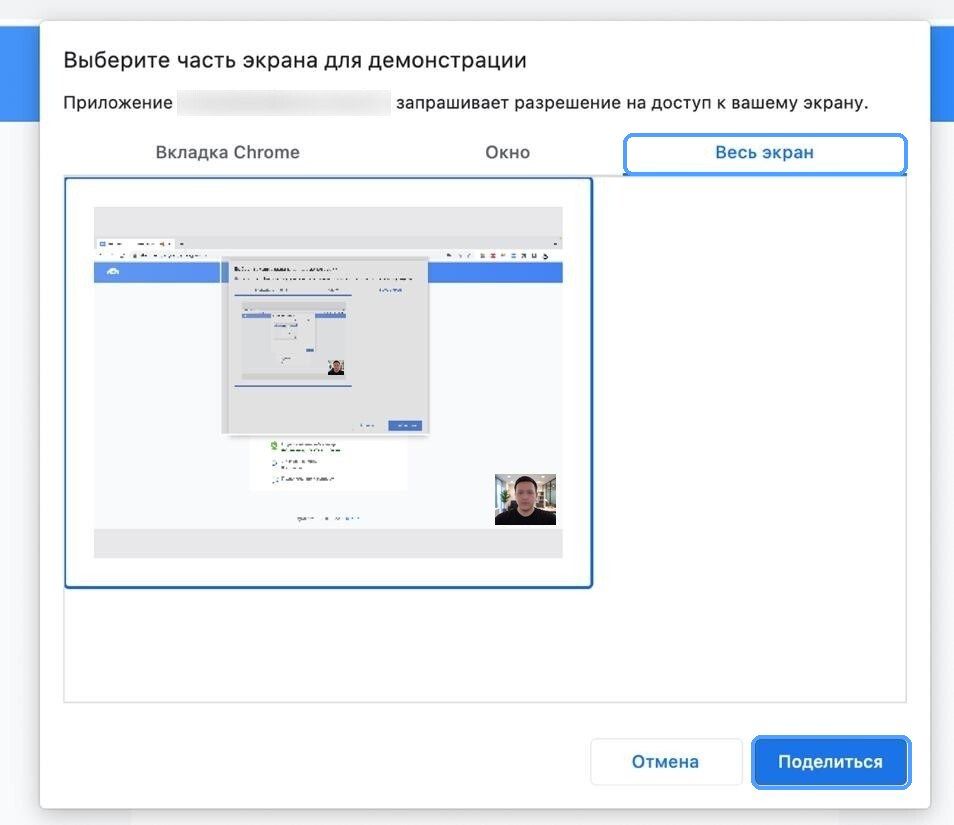
Before this step, maximize the Chrome window. Chrome then opens a window where you choose what to share. Select the “Entire Screen” tab, click the screen image, then click “Share”. The “Window” and “Chrome Tab” options will not work. The picture shows Chrome in Russian: «Весь экран» is “Entire Screen” and «Поделиться» is “Share”.
If your organization uses a 360 camera
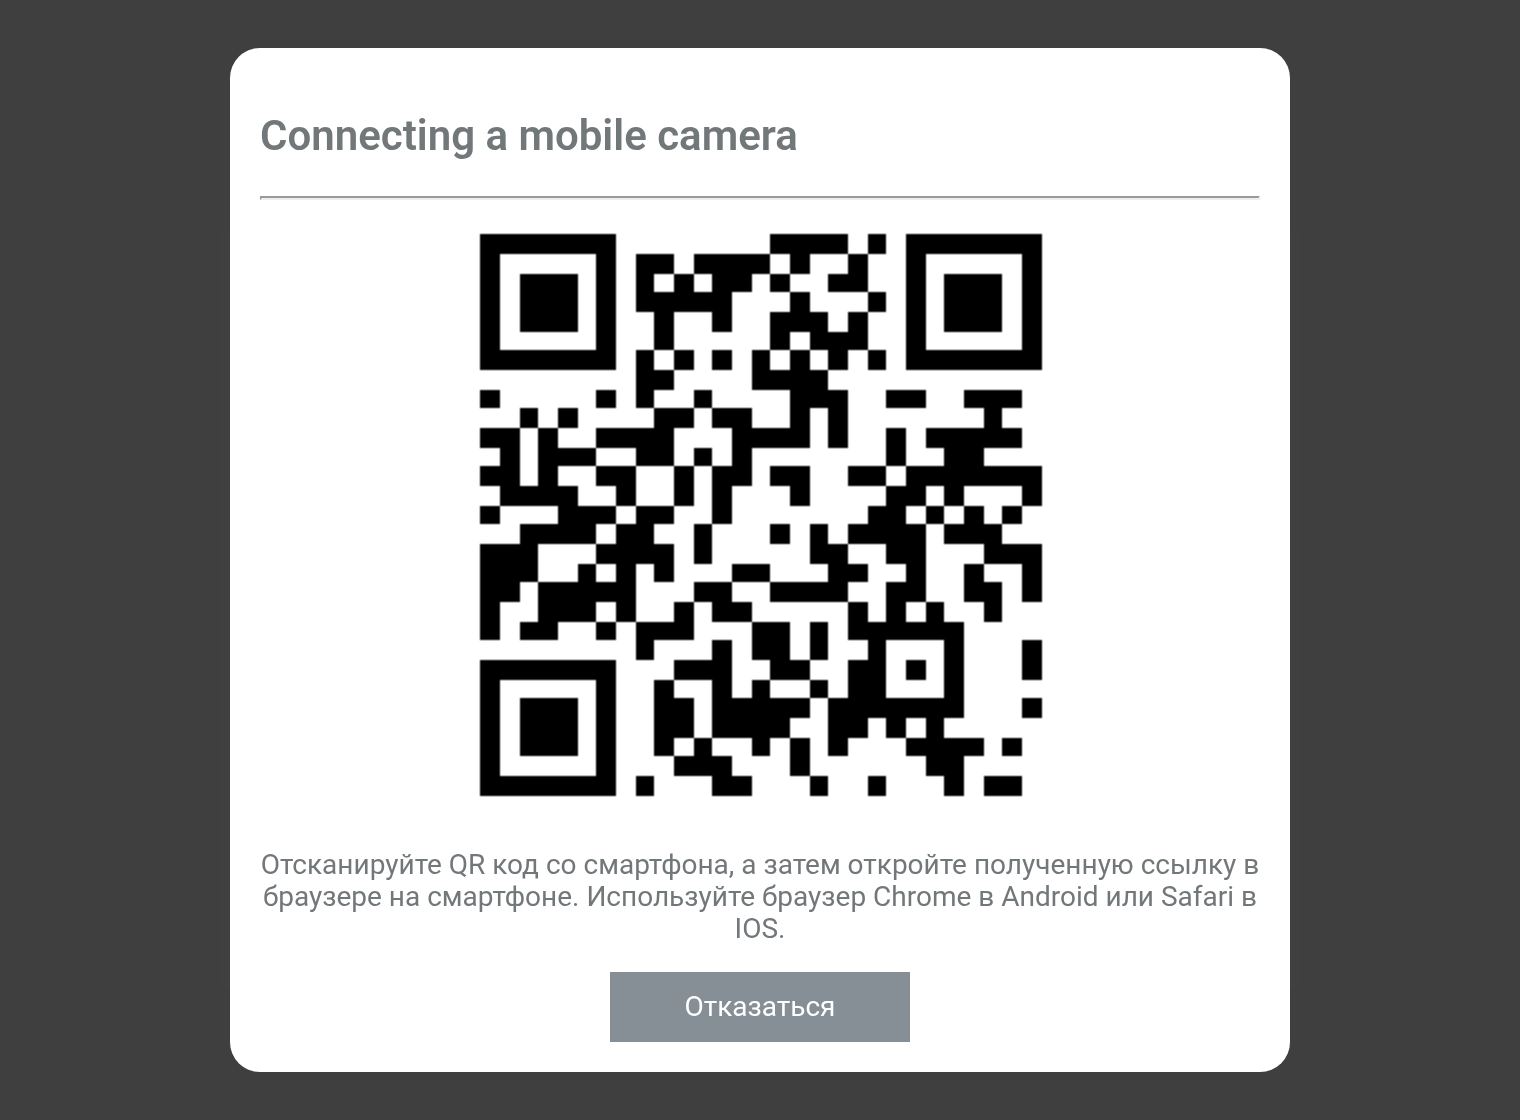
Some organizations ask you to connect your phone as a second camera. In that case, the “Connecting a mobile camera” window with a QR code appears. Scan the QR code with your phone and open the link in Chrome on Android or in Safari on iOS. Then follow your organization's instructions.
When all checks pass, the “Server connection” row confirms the connection and the exam opens.
If the exam opens in a new tab
Some organizations open the exam in a separate tab. The “Connecting a webcam” row then shows an “Allow camera access” button: click it. After connecting you will see “Go to the Learning Portal”: click “Initialize camera”, then “Go to the exam” (if there is no first button, click “Go to the exam” right away). The camera video appears in a small floating window. Keep the proctoring tab open until the exam ends.
During the exam
- Do not close the proctoring tab. If the browser asks “Leave site?”, click “Cancel” and stay on the page.
- Do not click “Stop sharing” on the Chrome bar that says your screen is being shared: the exam will stop. You can remove the bar with “Hide”.
- Do not disconnect the camera: if the connection to it is lost, the exam stops too.
- Do not connect a second monitor, TV or projector: the exam stops with the reason “Second monitor detected”.

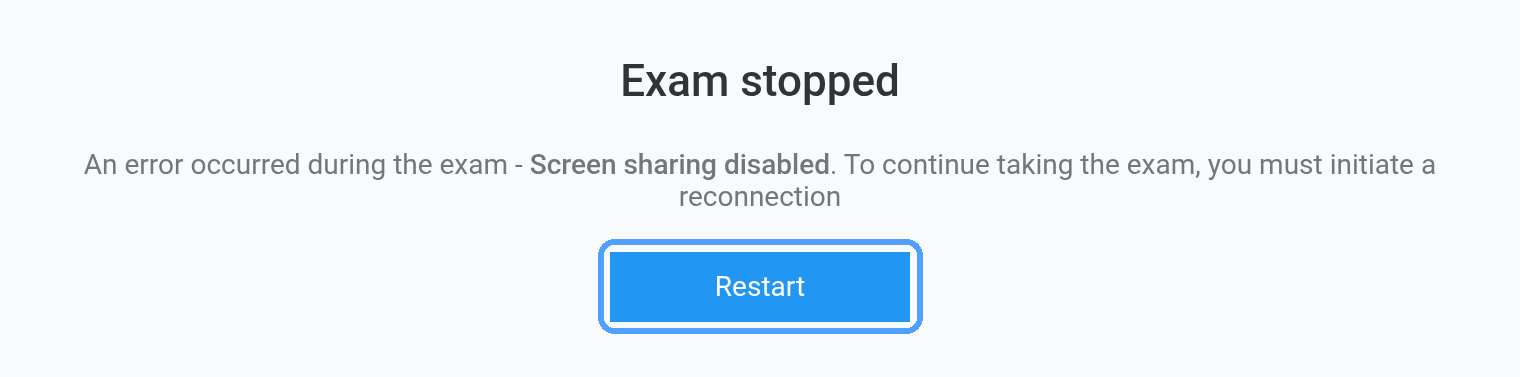
If the exam stops, you will see the “Exam stopped” screen with the reason, for example “Screen sharing disabled” or “Camera connection lost”. Click “Restart”: the checks will run again.
Common errors and how to fix them
Find the error text from the check row here (Ctrl+F) and follow the steps under it.
“No microphone permission” or “No camera permission”
Cause: you clicked “Don't allow” when Chrome asked, or access was blocked earlier.
- Click the camera icon with a red cross on the right side of the Chrome address bar.
- Choose “Always allow … to access your microphone” (for the camera, “…to access your camera”; if both are blocked, “…to access your camera and microphone”), then click “Done”.
- Click “Repeat”.
You can also do this in the site settings: click the icon to the left of the site address, open “Site settings” and choose “Allow” for Camera and Microphone.
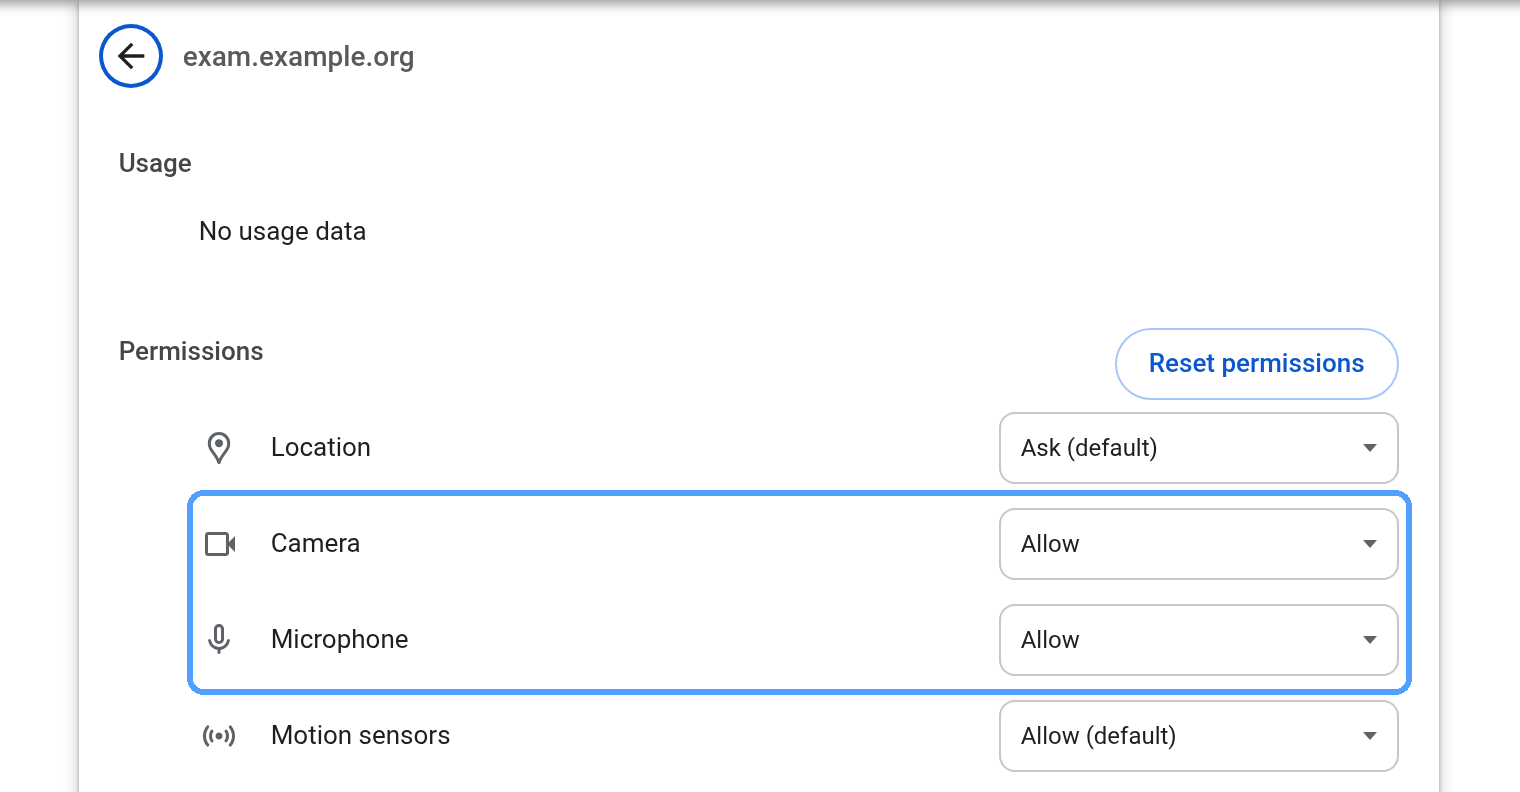
If that does not help, check the privacy settings in Windows or macOS: Chrome must have access to the camera and microphone.
“Full screen transfer required”
Cause: when choosing what to share, you picked “Window” or “Chrome Tab”. Click “Repeat” and choose “Entire Screen”.

“Missing screen resolution”
This is how the English page labels a refused screen share: the picker was closed or “Cancel” was clicked. Click “Repeat”, choose “Entire Screen” and click “Share”.
On macOS, Chrome needs a separate permission to record the screen. If the “Entire Screen” tab shows no screen image or an “Open System Settings” button, allow Google Chrome to record the screen in the macOS privacy settings, restart Chrome and click “Repeat”.
“Camera transmission interrupted” or “Camera connection is abruptly disconnected”
The connection to the camera was lost. If the camera is connected by USB, check the cable. Then click “Repeat”.
“Screen transfer interrupted”
Screen sharing stopped while the system was connecting to the server. Click “Repeat”: Chrome asks again what to share. Choose “Entire Screen” and click “Share”.
“The window is not fully expanded. Expand to full screen”
Maximize the Chrome window and click “Repeat”.

“No devices found (NotFoundError)”
The camera or microphone is not connected or is turned off. Check the connection and click “Repeat”. If that does not help, restart your computer.
“Read error (NotReadableError)”
Usually another program is using the camera or microphone. Close Zoom, Teams, Skype, WhatsApp, OBS and similar programs, then click “Repeat”. If that does not help, restart your computer.
“Connection error (connectionTimeout)” or “Connection error (socketClosed)”
There is no connection to the proctoring server. Check your internet connection, restart your router and check that other devices are not loading the network. Then click “Repeat”.
“Google Chrome browser is required”
You opened the page in a browser other than Chrome. Install Google Chrome and open the exam link in it. If the microphone or camera row shows “Unsupported or outdated browser”, update Chrome.
“Second monitor detected”
Disconnect the second monitor, TV or projector and click “Repeat”.

“The extension is not installed”
Click “Download”, install the proctoring extension, return to the check page and click “Repeat”. If you see “upgrade” instead of “Download”, update the extension the same way.
If nothing helps
- Click “Why so?” next to the error and read the explanation.
- Restart the browser or the computer. The error explanations recommend this too.
- Contact your organization's support. Give the error text, attach a screenshot and tell them your student ID («Идентификатор студента») from the top of the page.
